CALL/TEXT 213-479-8672
L o s A n g e l e s
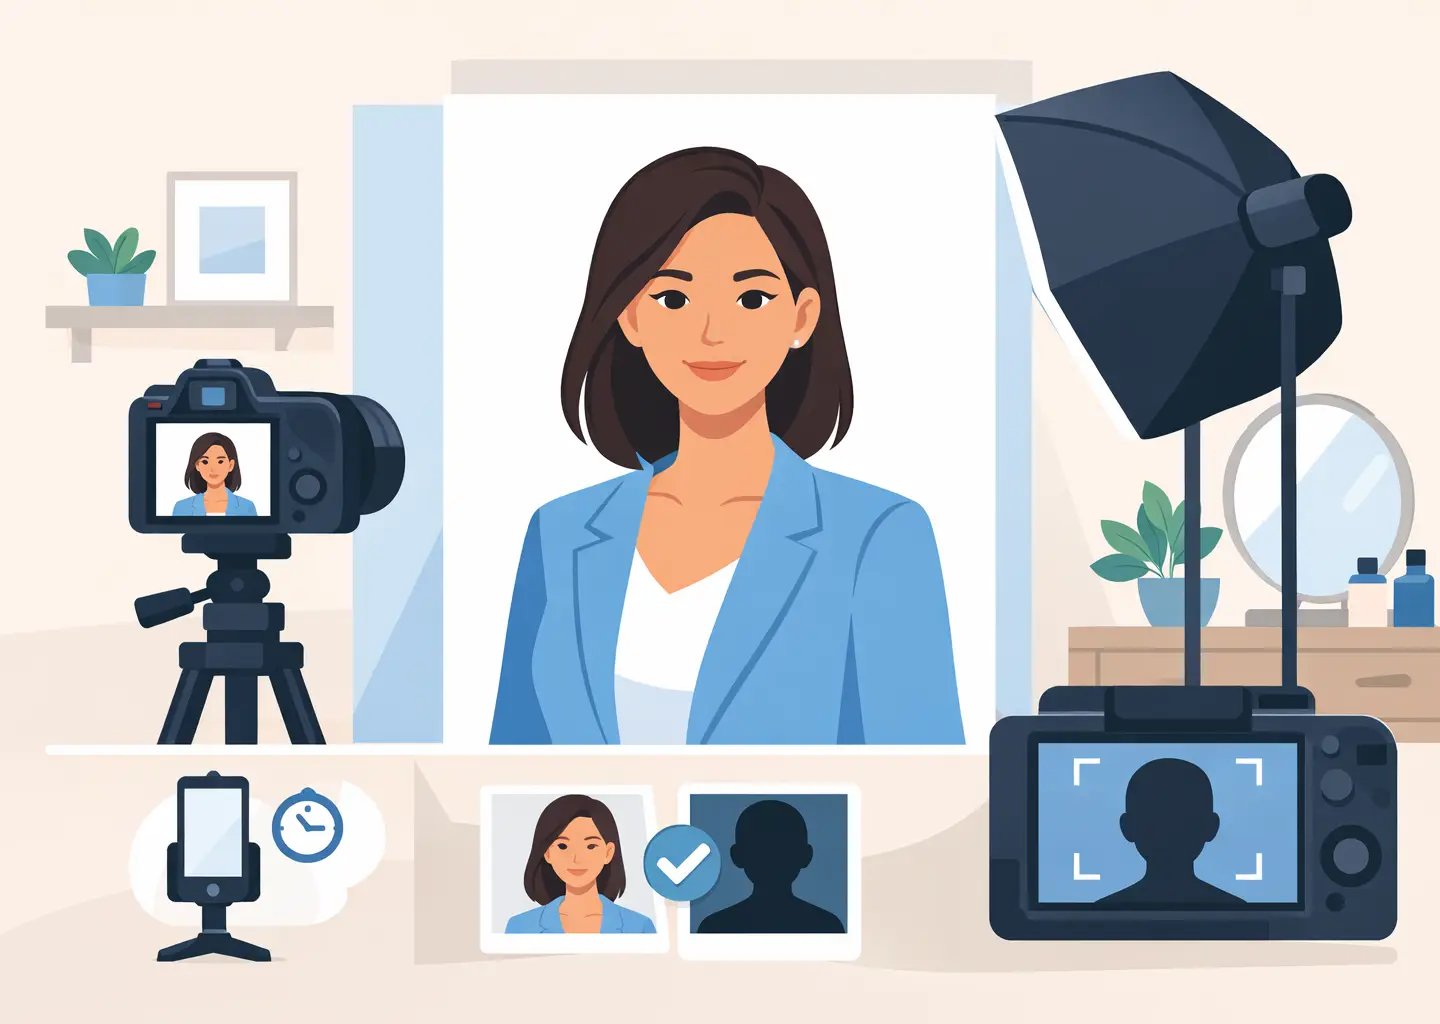
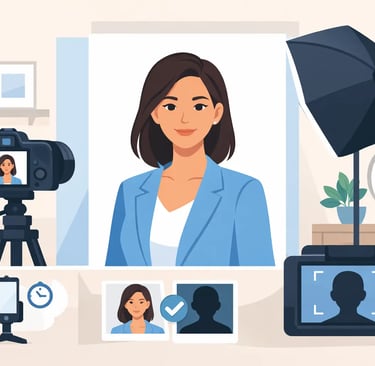
How to Take a Professional Headshot Photo at Home
5/20/20266 min read
A professional headshot does three things at once. It shows your face clearly, it feels natural, and it supports the kind of work you want. That last part is where many DIY photos fall short. A good image is not just sharp. It has to look like someone people would trust to hire, cast, or contact.
For actors and performers, that usually means your photo should look like you on a strong day, not a filtered version of you. For business professionals, it should feel polished without looking stiff. In both cases, the best home headshots are simple. Clean background, flattering light, direct expression, and framing that keeps the attention on your face.
How to take a professional headshot photo at home without expensive gear
You do not need a full studio to get a usable result. You do need control. The easiest mistake is thinking gear matters more than setup. In most home headshots, lighting and camera position matter far more than buying extra equipment.
Start with the best camera you already have. A newer smartphone is often enough if you use the rear camera, not the selfie camera. The rear camera usually gives you better detail and more accurate color. If you have a DSLR or mirrorless camera, great, but it is not required.
Place the camera at eye level. That one adjustment instantly makes the image feel more professional. If the camera sits too low, your jawline changes and the photo feels awkward. Too high, and it can look casual or diminutive. Use a tripod if possible, or stabilize the phone on a shelf, stand, or stack of books.
A timer or remote shutter helps because it gives you a moment to settle your expression. If someone can take the photo for you, even better, as long as they understand that this is not a casual snapshot. They should hold the framing steady and shoot several options rather than trying to direct every pose.
Choose window light over indoor lighting
If you want the biggest quality jump with the least effort, use daylight from a window. Stand facing a large window with indirect light. Bright but soft light is ideal. You want the light to wrap across your face evenly, not blast one side while leaving the other in shadow.
Avoid direct midday sun hitting your face. It creates harsh shadows, squinting, and shiny skin. Overcast light is often excellent. So is a bright room near a window in the morning or late afternoon. Turn off overhead lights and lamps if they create mixed color tones. One good light source is usually better than three bad ones.
If the shadows under your eyes look too deep, step slightly closer to the window or place a white poster board or sheet opposite the light source to bounce some brightness back onto your face. That small adjustment can make a home headshot look much more intentional.
Pick a background that does not compete with you
Your background should do its job quietly. A blank wall, plain curtain, or uncluttered neutral backdrop works best. White, light gray, beige, or soft earth tones are safe choices. If your wall has visible marks, texture, or distracting decor, find another spot.
What you want is separation without visual noise. If you stand directly against the wall, the image can look flat. Step a few feet forward if you have room. That little bit of distance helps create depth and keeps the focus on your face.
For actor submissions, simpler is usually better. Casting needs to see you, not your living room. For corporate or personal branding use, a very clean home interior can work, but only if it still reads polished and distraction-free.
Wear what fits the role you want
Clothing shapes the message before anyone studies your expression. Solid colors almost always photograph better than busy prints. Mid-tone and darker colors tend to be flattering, though the right shade depends on your skin tone, hair color, and intended use.
For most professional headshots, start with something simple and well-fitted. A clean T-shirt, blouse, sweater, or jacket can all work. Wrinkled fabric, oversized layers, and loud patterns usually do not. Keep accessories minimal unless they are part of your consistent professional image.
If you are an actor, think in terms of type and marketability, but do not over-style. You want casting to see you clearly. If you are a business professional, dress one level above everyday casual. The photo should feel credible in the spaces where it will be used.
Hair and makeup should look controlled, not heavy. A bit of powder to reduce shine can help. So can checking flyaways before you start shooting. Small grooming issues become obvious in a close-up.
Framing and expression matter more than most people think
A common DIY mistake is cropping too wide. A headshot is not a vacation portrait. Usually, you want the frame from mid-chest or shoulders up, with your eyes sitting in the upper third of the image. Leave enough room around your head, but not so much that your face gets lost.
Keep your body angled slightly rather than facing the camera dead-on, then turn your eyes back toward the lens. That adds shape and tends to look more flattering. Push your forehead subtly forward and down to define the jawline. It feels strange in the moment, but it works.
Expression is where home headshots either connect or fall flat. Do not force a huge smile unless that matches your brand. Instead, think about being engaged. You want presence in the eyes. Relax your mouth, breathe, and take many frames with small changes in energy.
The best results often come after the first ten or fifteen shots, once you stop performing and start looking more like yourself. That is one reason professional sessions move quickly but still shoot a lot. It takes repetition to land the right moment.
Take more photos than you think you need
Do not aim for one perfect frame. Aim for options. Change your expression slightly, shift your shoulders, and try both direct eye contact and a softer look just off-center. Review your images as you go, but do not obsess over every single shot in real time.
What you are watching for is consistency. Are your eyes sharp? Does the lighting stay flattering? Is the background staying clean? Are you getting a look that feels usable for your actual goals?
If the answer is no, fix the setup before continuing. Most problems come from angle, light, or posture, not from your face. Once those are corrected, the photos improve fast.
Edit lightly and keep it believable
Retouching should support the photo, not change your identity. Basic edits are enough for most home headshots. Adjust brightness, contrast, white balance, and crop if needed. Remove temporary blemishes if you want, but keep skin texture. Over-smoothing is one of the fastest ways to make a photo look cheap.
Color should look accurate. Your skin should still look like your skin. If the image starts to feel airbrushed or filtered, pull it back. For actors especially, your headshot needs to represent what people will see when you walk into the room or onto a self-tape.
It also helps to export a high-resolution version for submissions and a properly sized version for social platforms or business profiles. One photo may need slight crops for different uses, but the core image should stay consistent.
When a DIY headshot is enough and when it is not
A home headshot can absolutely work for a profile update, quick submission need, website refresh, or early-stage personal brand. If your lighting is good and the photo looks polished, it can do the job well.
But there is a line. If you are pursuing higher-level auditions, agency meetings, major personal branding campaigns, or competitive professional opportunities, a studio session usually gives you better range, consistency, and market precision. That is especially true if you need multiple looks, professional retouching, or direction that helps you bring out the right expression fast.
That is why many people start at home, then book when they are ready to compete at a higher level. A DIY image can open a door. A strong studio headshot can help you walk through it with more confidence.
If you do take your own photo, treat it like a career move, not a quick errand. Set aside an hour, control the details, and shoot with purpose. And if you reach the point where you want industry-ready results with less guesswork, that is exactly where a focused studio like Headshots by Wick earns its value.
The right headshot should make someone stop scrolling and pay attention. Whether you create that image at home or in a studio, make sure it looks like the version of you that is ready to be booked, hired, and remembered.